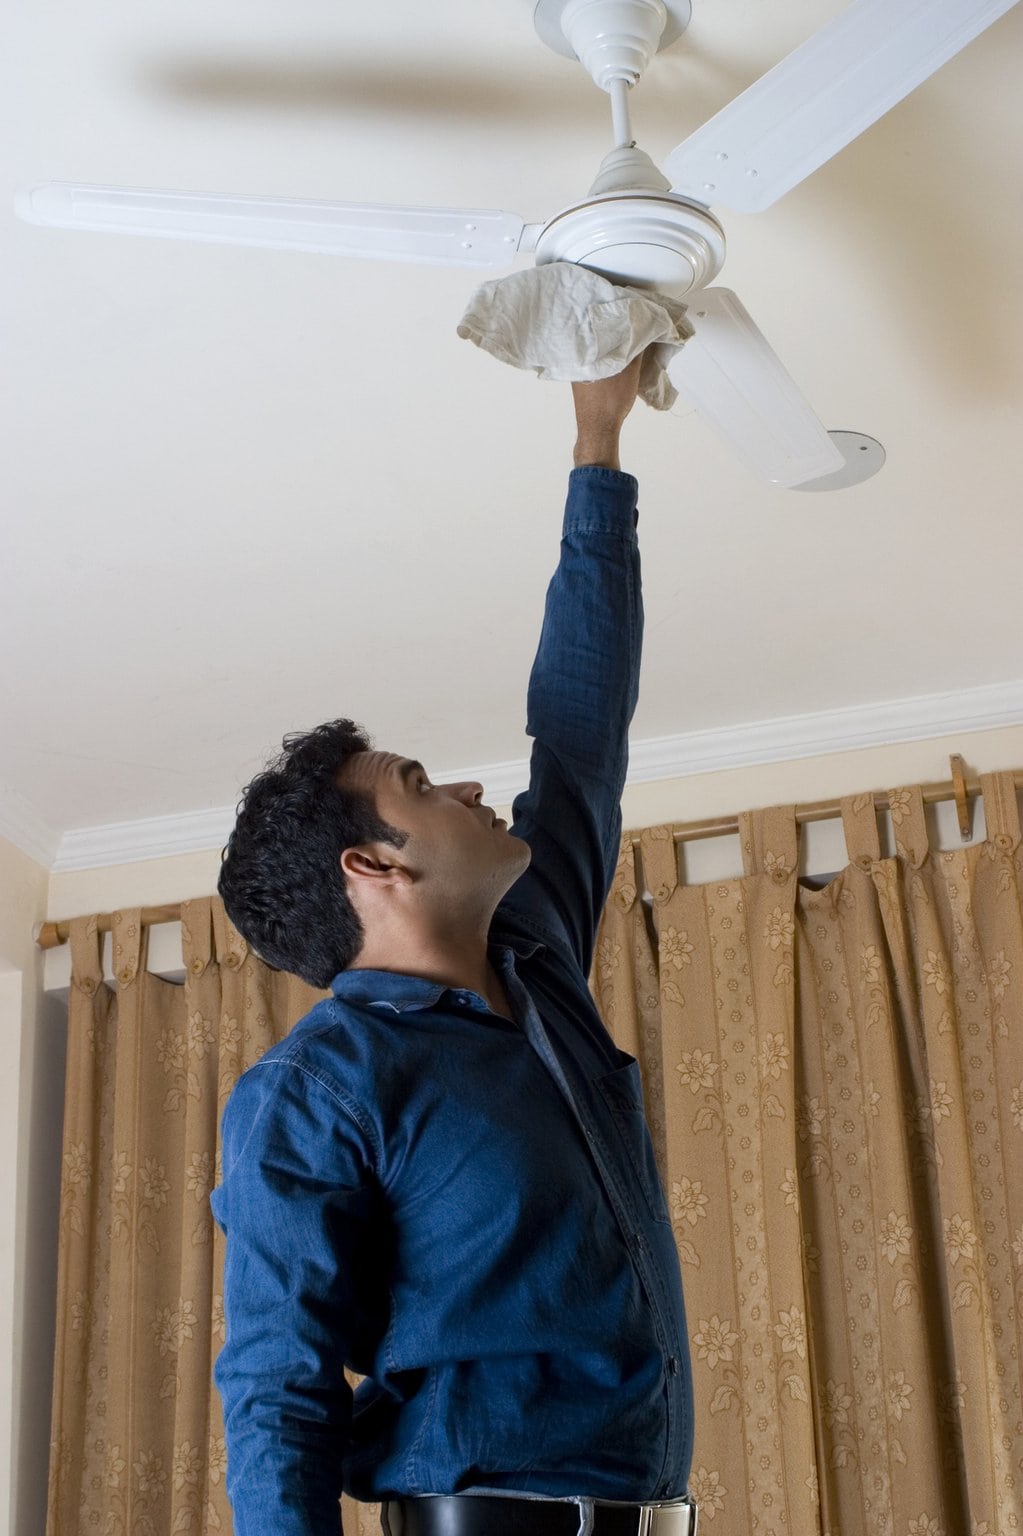
We’ve all been there: you turn on your ceiling fan, and an annoying buzz slices through the air. Next, the wobbling sets in – usually at 3 a.m. when you’re trying to sleep. Finally, you turn your ceiling fan off because the incessant noises are causing you to have restless sleep.
But ceiling fans offer better lighting and can reduce your energy bills, which means you should install a new one, ASAP. However, you’ll need to know all about old ceiling fan removal, which this helpful guide explains in detail.
Remove Your Ceiling Fan’s Light Kit
This only applies to ceiling fans with lights. If yours doesn’t have one, move to the next step.
You always need to turn off the circuit breaker to your ceiling fan before beginning any work, so don’t skip this essential step.
Removing your ceiling fan’s light kit may be as simple as unscrewing your ceiling fan’s light bulbs and the globes they sit in. Other kits may mean that you have to disconnect any electrical wires going from your ceiling fan to your light kit.
After you remove the light kit, put the light bulbs somewhere where they won’t break, as you may be able to use them in your new ceiling fan (or elsewhere around your house).
Remove the Fan Blades
You can usually remove fan blades by just unscrewing them from the motor housing of your ceiling fan. They’re usually attached with metal brackets.
However, the easiest way to remove them is by unscrewing the brackets from the ceiling fan body itself, keeping the blades attached to the brackets. This reduces the amount of work you need to do.
Remove the Body of the Fan
You always need to unscrew the body of your fan from its mounting bracket before you can disconnect your ceiling fan’s wiring from the house wiring.
For fans with a downrod, you need to remove the canopy before doing anything else. This is located at the top of your fan’s downrod and is a decorative cover.
It prevents you from seeing any wiring and screws. You can remove it with a screwdriver.
Once it’s removed, you can access any wiring and connected mounting brackets. You’ll commonly find a ball at the end of your fan’s downroad.
This slides out of the fan’s mounting bracket. You can remove it from the wall, but you need to be careful when doing so, as ceiling fans are heavy. It’s always best to complete a project like this with some extra help.
You may have a flush-mount fan. If so, you can remove the fan body right from the mounting bracket.
You’ll commonly see that these fans are attached to the bracket with a screw. There will be one on the side of the fan body and the other side will have a hinge. This way you can easily disconnect the fan body, allowing it to rest on the hinge as you disconnect the rest of it from the wiring.
Unhook the Wiring and Remove the Bracing
Next, disconnect the wiring. You need to twist and remove the wire nuts. These connect the fan wires to the ceiling wires. After that, remove the body of the fan from the ceiling.
Always use the ceiling bracket that came with your new fan. Old brackets are unsafe to use.
Your ceiling mount brackets are in your ceiling’s electrical box. There are a minimum of two screws. Remove them and the bracket.
If your old ceiling fan still works and you only removed it for aesthetic reasons, it’s an excellent idea to donate it. Organizations that may take ceiling fans include The Salvation Army or Habitat for Humanity.
Old Ceiling Fan Removal
Now that you know more about old ceiling fan removal, you can get to work on shopping for a new one! Since ceiling fans are energy efficient, they’re great to have in the house.
Although it may seem easy to remove an old ceiling fan yourself, it’s always best to let the professionals handle electrical repairs. Sewell Electric & HVAC offers a variety of services, including lamp and fixture repair and so much more. Contact us today at (615) 794-2518 or (615) 456-7332 for after-hours HVAC repairs.


