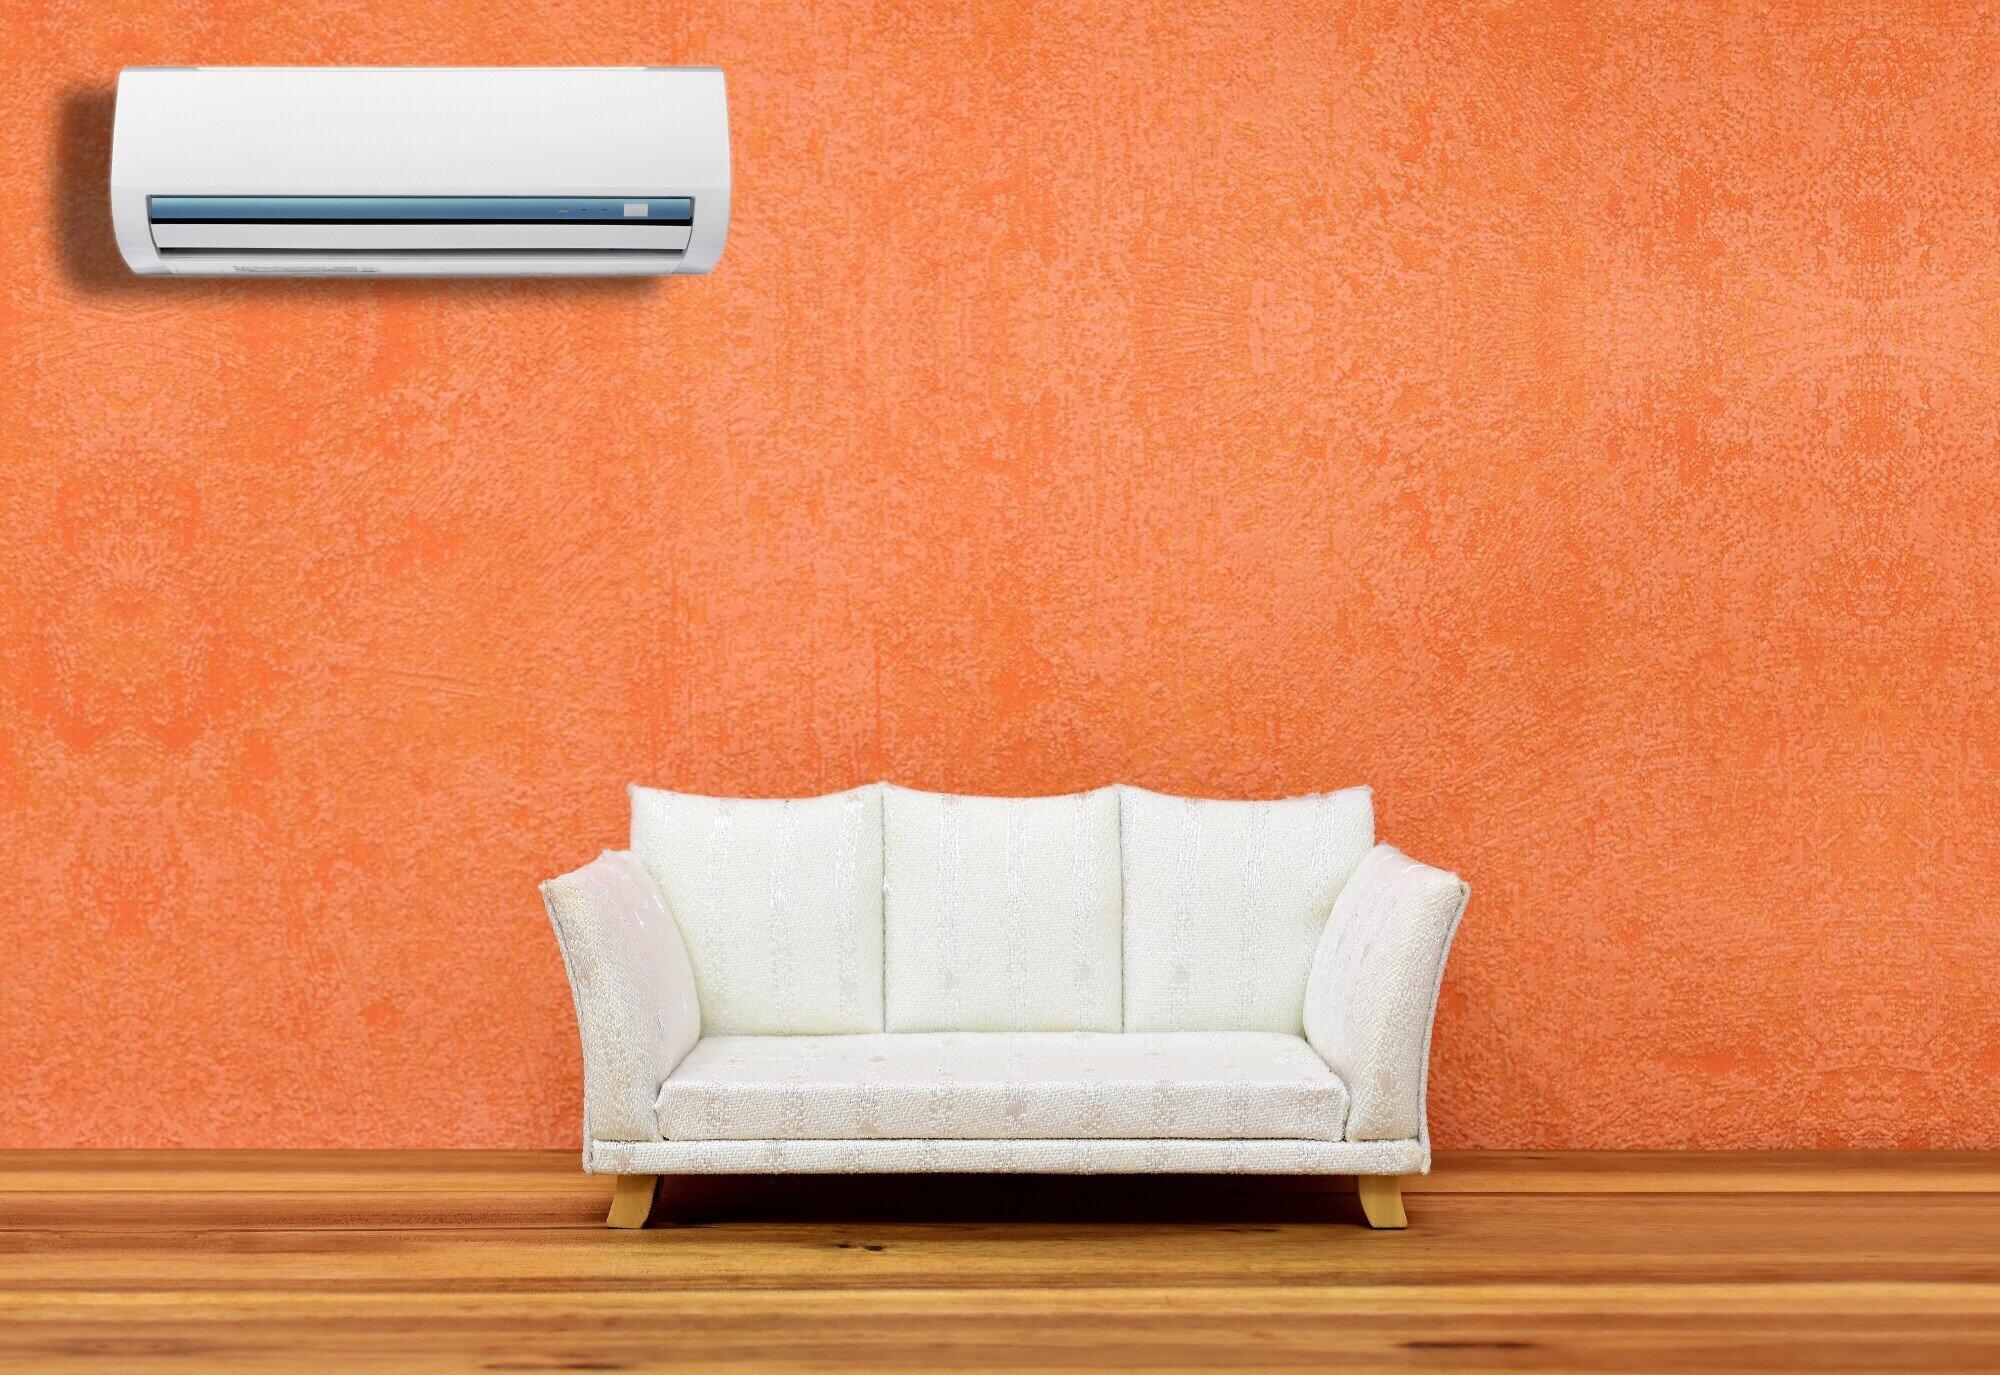
Nearly 90% of American homes have air conditioning of some sort.
Installing an air conditioning unit is a significant investment that can greatly improve your comfort at home. Proper planning is essential to ensure a successful installation, and one crucial tool to help you in this process is an HVAC wiring diagram.
This diagram provides a visual representation of the electrical connections, guiding you step-by-step through the installation.
Keep reading for a simple guide on how to plan your AC unit installation using an HVAC wiring diagram.
Understand the HVAC Wiring Diagram
Familiarize yourself with the HVAC wiring diagram. It may seem overwhelming at first, but it’s a valuable resource. It shows you the connections between various components in the AC unit.
You’ll find symbols representing certain components like:
- Thermostat
- AC condenser
- Air handler
- Transformer
- Other electrical elements
Take your time to grasp the layout and what each symbol means.
Plan the Wiring Route
Examine the HVAC wiring diagram to determine the most efficient route for the wires.
Take some time to think about the location of the AC unit as well as the control panel. It’s important to get organized before you start the job so that you can plan for any unforeseen problems that might crop up during the work.
Check Electrical Compatibility
Ensure that the electrical system in your home is compatible with the AC unit’s requirements.
Be sure to verify the voltage and amperage requirements mentioned in the AC unit’s manual and cross-check them with your electrical panel’s capacity. If needed, consult an electrician to make any necessary upgrades.
Never try to make ad hoc electrical fixes without being sure you know what you’re doing. The wiring in your house is dangerous. If in doubt, seek help from a qualified electrician.
Label the Wires
Using the HVAC wiring diagram, label the wires to indicate their specific connections.
Labeling the wires helps prevent confusion during the installation process. Use clear and easy-to-read labels to make the task hassle-free.
Safety Precautions
Always prioritize safety when working with electrical components. Before starting any installation, turn off the power supply to the relevant circuits from the electrical panel.
Use a voltage tester to ensure there is no electricity flowing through the wires before you begin.
Connect the Wires
Follow the HVAC wiring diagram carefully to connect the wires between the AC unit, thermostat, and electrical panel.
Double-check each connection to ensure they match the diagram. Incorrect wiring can lead to malfunctions or damage to the unit.
Find Help With HVAC Installation Today
Planning your AC unit installation with an HVAC wiring diagram is a crucial step in ensuring a smooth and successful process. Understanding this step will help you better understand your HVAC system and how it works.
All that being said, sometimes it’s best to leave a job to the professionals. Let Sewel Electric and HVAC deal with your next HVAC installation so you can sit back and relax.
Have a chat with us today to see how we can help you.